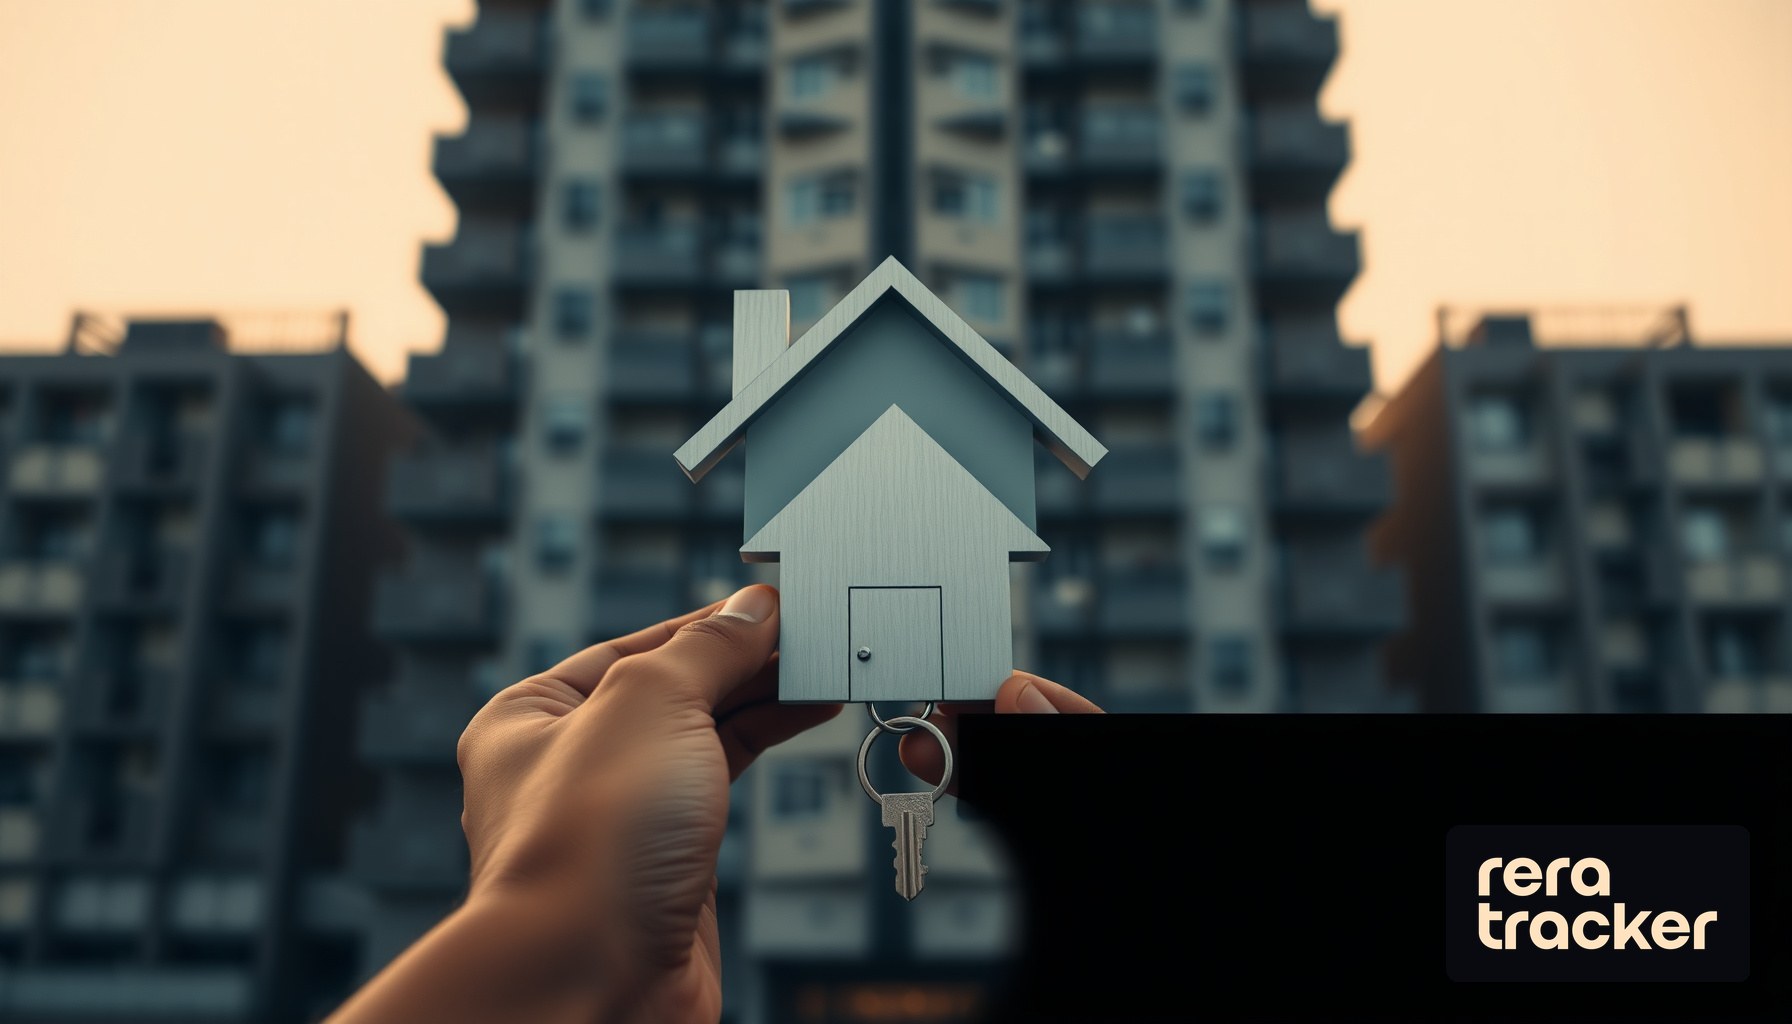
How to Buy Your First Home in India: A Step-by-Step Guide (2026)
The complete first-time homebuyer's guide for India — from budgeting and home loans to RERA verification, registration, and possession. Everything nobody tells you.
Buying your first home in India is one of the biggest financial decisions you will ever make. The process involves banks, builders, lawyers, government departments, and a mountain of paperwork — and nobody walks you through it end to end.
This guide changes that. Whether you are a salaried professional eyeing your first apartment or someone finally ready to take the plunge, here is the complete step-by-step roadmap — from checking your finances to collecting your keys.
Step 1: Assess Your Financial Readiness
Before you open a single property listing, take an honest look at your finances. This step alone can save you from years of regret.
What to evaluate:
- Monthly income: Your take-home salary after tax deductions. If you are a couple buying together, consider both incomes.
- Existing EMIs: Car loans, personal loans, credit card dues. Banks look at your total debt load, not just your salary.
- Savings: You will need liquid savings for the down payment, stamp duty, registration charges, and moving costs. More on exact numbers shortly.
- Credit score: A CIBIL score above 750 gets you the best home loan interest rates. Below 650, most banks will reject your application outright. Check your score for free on the CIBIL website or through your bank’s app before you start.
- Job stability: Banks prefer applicants who have been with their current employer for at least one to two years. Frequent job changes can raise questions during loan processing.
Common mistake: Assuming you can afford a home just because an EMI calculator says so. An EMI of Rs 45,000 looks manageable until you add maintenance charges, property tax, insurance, and the inevitable interior expenses. Your total housing cost should not exceed 40% of your take-home pay — and that includes everything, not just the EMI.
Step 2: Set a Realistic Budget
Here is where most first-time buyers get it wrong. The sticker price of the flat is not what you will actually pay. Not even close.
The practical rule: Your home budget should be 3 to 4 times your annual household income. If you and your partner together earn Rs 20 lakh per year, aim for a property in the Rs 60 to 80 lakh range.
Hidden costs nobody tells you about:
| Cost Component | Typical Range | On a Rs 60L Property |
|---|---|---|
| Down payment (20%) | 10-25% of property value | Rs 12,00,000 |
| Stamp duty | 5-8% depending on state | Rs 4,20,000 (at 7%) |
| Registration charges | 1% of property value | Rs 60,000 |
| GST (if under construction) | 5% without ITC | Rs 3,00,000 |
| Legal fees | Rs 10,000 - Rs 25,000 | Rs 15,000 |
| Brokerage (if applicable) | 1-2% | Rs 60,000 |
| Interior and furnishing | Rs 5-15 lakh typical | Rs 7,00,000 |
| Moving and miscellaneous | Variable | Rs 50,000 |
| Total actual outgo | Rs 28,05,000 (upfront) |
So for a Rs 60 lakh apartment, your upfront cash outgo (down payment plus all charges plus interiors) lands around Rs 28 lakh. The total real cost of ownership is closer to Rs 75 lakh. If you have saved only Rs 15 lakh, a Rs 60 lakh flat will stretch you thin. Be honest with yourself early.
Common mistake: Forgetting about GST. If you are buying an under-construction property, 5% GST applies on the agreement value (minus land component in some calculations). Ready-to-move-in properties with an Occupancy Certificate do not attract GST.
Step 3: Get Home Loan Pre-Approval
Most people skip this step and regret it later. A pre-approval (also called in-principle sanction) gives you three advantages: you know exactly how much you can borrow, you strengthen your negotiating position with the builder, and you speed up final disbursement since the bank has already verified your documents.
Documents typically needed:
- PAN card and Aadhaar card
- Last 6 months of salary slips
- Last 2 years of Form 16 or ITR
- Last 6 months of bank statements
- Employment letter or appointment letter
- Passport-size photographs
- Address proof
For self-employed applicants, you will also need business registration documents, audited financial statements, and GST returns.
What banks look at:
- Your FOIR (Fixed Obligation to Income Ratio). Your total EMIs — including the proposed home loan — should not exceed 50-55% of your gross monthly income.
- Your age. A 30-year-old gets a longer loan tenure (up to 30 years) than a 45-year-old.
- Property type and builder reputation. Banks have approved project lists. If your chosen project is not on the list, loan processing gets harder.
Common mistake: Applying to too many banks simultaneously. Each application triggers a hard credit inquiry that can temporarily lower your CIBIL score. Apply to two or three banks at most.
Step 4: Research Locations Thoroughly
Location is the single biggest factor that determines whether your property appreciates or stagnates over the next decade. Do not rush this step.
Evaluate each locality on these parameters:
- Commute time: How long does it take to get to your office during peak hours? Try the actual commute on a weekday morning before committing. Google Maps at 9 AM on a Monday tells the real story.
- Social infrastructure: Schools, hospitals, grocery stores, restaurants, parks. If you are planning a family (or already have one), good schools within a 5 km radius matter more than a fancy clubhouse.
- Physical infrastructure: Road quality, water supply reliability, power backup situation, sewage and drainage. Talk to existing residents in the area, not the broker.
- Connectivity: Proximity to metro stations, highways, and upcoming infrastructure projects. A metro line under construction nearby can add 15-30% appreciation over three to five years.
- Appreciation potential: Look at price trends over the last 5 years using property portals. Avoid locations where prices have been flat despite development activity — it usually signals oversupply.
- Safety and livability: Visit the area at night. Walk around. Check for streetlights, security presence, and general upkeep of existing societies.
Common mistake: Buying too far from your workplace because the price per square foot is attractive. A two-hour daily commute drains energy, eats into family time, and adds Rs 5,000 to Rs 15,000 in monthly transport costs — eroding the savings you thought you were making.
Step 5: Shortlist Projects and Verify RERA Registration
Once you have narrowed down preferred localities, shortlist actual projects. This is where many buyers make their costliest mistake — trusting the sales pitch and skipping due diligence.
How to shortlist:
- Compare at least 3 to 5 projects in your budget and location.
- Check the developer’s track record — completed projects and on-time delivery history.
- Confirm the project’s RERA registration number. Every legitimate project must be registered with the state RERA authority. No RERA number? Walk away.
Why RERA verification matters:
RERA registration is your legal protection, not a formality. It means the developer has submitted approved plans, a clear land title, and a committed delivery timeline. It also means 70% of buyer funds go into an escrow account dedicated to construction — preventing the builder from diverting your money.
How to verify:
You can check RERA registration on your state’s RERA website, but the process is often frustrating — different states have different portals, some are poorly designed, and cross-referencing information across projects is tedious. This is where ReraTracker comes in. It lets you search projects across states, verify registration status, check builder history, and compare project details in one place. Before you pay a single rupee to any builder, run the project through ReraTracker and confirm the RERA number, registered carpet area, and promised completion date.
What to verify specifically:
- Is the RERA number valid and current (not expired or revoked)?
- Does the registered carpet area match what the sales team quoted?
- What is the RERA-registered completion date? This is the legally binding deadline.
- Are there any complaints filed against the project or the developer on the RERA portal?
- Is the land title clear according to RERA filings?
Common mistake: Taking the builder’s word for the RERA number. Some developers display fake or expired numbers in brochures. Always cross-check independently.
Step 6: Visit Sites and Evaluate Carefully
Brochures show the dream. Site visits show reality. Never buy without visiting — preferably more than once.
What to observe:
- Construction quality: Tap walls (hollow sounds signal poor plastering), check flooring and fixtures in sample or completed units.
- Natural light and ventilation: Visit during the day. North and east-facing units get better light without excessive heat.
- Actual carpet area: Bring a measuring tape. Verify room sizes match the promised numbers.
- Common areas: Inspect the lobby, lifts, staircase, parking, and amenities — they reflect the builder’s quality standards.
- Water pressure: Turn on all taps, especially on upper floors.
- Neighbourhood noise: Visit at different times. A quiet afternoon means nothing if a busy road is nearby.
Questions to ask the builder:
- What is the exact carpet area as per RERA registration?
- What is the all-inclusive price per square foot, including all charges?
- What are the ongoing maintenance charges?
- When is the committed possession date, and what penalties apply for delays?
- How many units are sold versus unsold?
- Which bank loans are approved for this project?
Red flags to watch for:
- Reluctance to share the RERA registration number
- Pressure to book immediately with phrases like “last unit available” or “price increase tomorrow”
- Quoting prices in super built-up area instead of carpet area
- No clear possession timeline
- Asking for large cash components
Common mistake: Assuming your flat will look like the sample flat. Sample flats often use premium fittings not included in the standard specification. Always get the specification sheet in writing.
Step 7: Understand the Agreement Thoroughly
The builder-buyer agreement is legally binding. Every word matters. Have a lawyer review it before you sign.
Key clauses to understand:
- Carpet area definition: Must specify carpet area as defined under RERA — usable floor area within the walls, excluding outer walls, balcony, terrace, and common areas.
- Total price and payment plan: Construction-linked (pay in stages as construction progresses) or possession-linked. Construction-linked is more common and generally safer.
- Possession date: Must match the RERA-registered completion date. Clauses allowing indefinite extensions are a red flag.
- Penalty for delay: Under RERA, if the builder delays possession, you are entitled to monthly interest at the SBI MCLR rate plus a margin.
- Specifications: Floor type, wall finish, bathroom fittings, electrical points, kitchen platform — everything should be detailed. Vague terms like “standard fittings” mean nothing.
- Cancellation and refund policy: RERA mandates a full refund with interest if the builder defaults.
Common mistake: Signing without independent legal review. Builder agreements are drafted by the builder’s lawyers and tilted in their favour. A property lawyer charges Rs 5,000 to Rs 15,000 for a review — a small price for catching problematic clauses.
Step 8: Book and Make Payments
Once you are satisfied with the project, the agreement terms, and the RERA verification, it is time to book.
The typical payment process:
- Booking amount: Usually Rs 1 to 5 lakh, paid to reserve your specific unit. Get a proper receipt and an allotment letter.
- Agreement to sell: Signed within 30 to 60 days of booking. You typically pay 10-20% of the total cost at this stage (minus the booking amount already paid).
- Stage-wise payments: If it is a construction-linked plan, payments are tied to construction milestones — foundation, ground floor slab, each subsequent floor, plastering, finishing, and so on. You only pay when the builder achieves a milestone.
Important rules for payments:
- Never pay in cash. All payments must be made via cheque, bank transfer, or demand draft. This is a RERA requirement and protects you legally.
- Always get receipts for every payment.
- Ensure payments go to the RERA-registered escrow account, not the builder’s personal account.
- Keep copies of every receipt, letter, and communication. Create a dedicated folder — physical and digital.
Common mistake: Paying large amounts upfront under pressure. Some builders offer discounts for lump-sum payments. While tempting, paying more than the scheduled amount in advance increases your risk if the project faces trouble. Stick to the construction-linked schedule.
Step 9: Home Loan Processing and Disbursement
If you got a pre-approval in Step 3, this stage is much smoother.
The process:
- Submit property documents to the bank — agreement copy, RERA certificate, approved building plan, title documents, and encumbrance certificate.
- The bank conducts legal and technical evaluation — their lawyers verify the title and a valuation expert assesses market worth.
- The bank issues a sanction letter stating loan amount, interest rate, tenure, and EMI.
- Sign the loan agreement and set up an auto-debit mandate for EMIs.
- For under-construction properties, disbursement happens in stages linked to construction progress. For ready properties, it is a single disbursement.
Understanding your EMI:
Your EMI has two components — principal and interest. In early years, most of your EMI goes toward interest.
On a Rs 48 lakh loan at 8.5% for 20 years:
- Monthly EMI: approximately Rs 41,700
- Total interest over 20 years: approximately Rs 52 lakh
- Total amount repaid: approximately Rs 1 crore
You borrow Rs 48 lakh and pay back Rs 1 crore. This is why prepayments matter. Even Rs 1 lakh extra per year toward the principal can save you 4-5 years and lakhs in interest.
Common mistake: Choosing the longest possible tenure to minimize EMI without understanding the total interest cost. A 30-year tenure means significantly more interest compared to a 20-year tenure for the same loan amount. Pick the shortest tenure your budget can handle.
Step 10: Registration and Stamp Duty
Without registration, you have no legal ownership — regardless of how much you have paid. This is the step that makes it official.
How it works:
- Stamp duty payment: A state government tax, varying from 5% to 8%. Maharashtra charges 6% (5% + 1% metro cess in Mumbai); UP charges around 7%.
- Registration fee: Typically 1% of property value, capped in some states.
- Sub-registrar office visit: Both buyer and seller visit with the sale deed, stamp duty receipt, identity proofs, photographs, and two witnesses.
- Biometric verification: Most states now require this during registration.
- Registered sale deed: Your proof of ownership. Guard it carefully.
Stamp duty savings tips:
- In many states, women buyers pay reduced stamp duty (1-2% lower than men). Registering the property in a woman family member’s name — or as a co-owner — can save Rs 60,000 to Rs 1.5 lakh on a Rs 60 lakh property.
- First-time homebuyers in some states get additional concessions. Check your state’s current policy.
- You can claim stamp duty and registration charges as a deduction under Section 80C of the Income Tax Act, up to the Rs 1.5 lakh overall limit.
Common mistake: Undervaluing the property at registration to save stamp duty. This is illegal and causes problems during resale, taxation, and legal disputes. Always register at the transaction value or circle rate, whichever is higher.
Step 11: Possession and Handover
Do not let excitement override diligence. The possession process demands a thorough inspection.
Before accepting possession:
- Get the Occupancy Certificate (OC): The builder must obtain an OC from the municipal authority. No OC means the building is not certified safe for habitation. Do not accept possession without one.
- Conduct a thorough inspection: Check walls for cracks and dampness, test every electrical switch, run every tap, and verify specifications match the agreement.
- Document defects: Photograph everything. Submit a written defect list to the builder and get acknowledgement.
Your rights under RERA’s defect liability clause:
Under Section 14(3) of RERA, the builder must fix any structural defects or quality issues within five years of possession — at no cost to you. This covers structural defects, waterproofing failures, plumbing issues, and workmanship deficiencies. If the builder refuses, file a complaint with the RERA authority.
Common mistake: Accepting possession when the OC has not been issued or major defects are visible. Once you sign the possession letter, your leverage drops. Inspect first, then sign.
Step 12: Post-Possession Essentials
You have the keys, but the paperwork continues.
Mutation (Khata Transfer):
Mutation updates municipal records to reflect you as the new owner. Essential for property tax billing, future resale, and utility connections. Visit your municipal corporation with the registered sale deed, possession letter, and identity proofs. Typically takes 2-4 weeks.
Property tax registration:
Register with your local municipal body. Keep receipts for future resale or loan purposes.
Society formation and maintenance:
Under RERA, the developer must facilitate formation of a residents’ welfare association within three months of majority units being sold. Get involved early — the society manages maintenance (typically Rs 2-8 per sq ft per month), common area upkeep, and security.
Home insurance:
A home insurance policy covering fire and natural disasters costs Rs 3,000 to Rs 10,000 per year. Not mandatory, but worthwhile protection.
Income tax benefits:
- Section 24(b): Deduction on home loan interest up to Rs 2 lakh per year (self-occupied property).
- Section 80C: Principal repayment up to Rs 1.5 lakh per year (shared with EPF, PPF, ELSS). Stamp duty and registration are also deductible in the purchase year within this limit.
Common mistake: Not completing mutation after possession. Without it, you face issues with property tax notices, utility connections, and future resale. Get it done within the first month.
A Quick Checklist Before You Sign Anything
Use this checklist at every stage of your homebuying journey:
- Credit score checked and above 750
- Budget includes all hidden costs (stamp duty, GST, interiors)
- Home loan pre-approval obtained
- Location visited at different times of day
- RERA registration independently verified (use ReraTracker)
- Builder’s track record and past delivery checked
- Site visited personally (multiple times if under construction)
- Agreement reviewed by an independent lawyer
- All payments made via banking channels with receipts
- Occupancy Certificate obtained before accepting possession
- Defects documented in writing within the defect liability period
- Mutation completed at the municipal office
Final Thoughts
Buying your first home in India does not have to be overwhelming. When you approach it step by step — with clear finances, thorough research, independent verification, and proper documentation — you take control instead of leaving it to chance.
The single biggest takeaway: verify everything independently. Check RERA registrations yourself. Read the agreement yourself. Visit the site yourself. Run the numbers yourself. Do not rely on what the broker says or the brochure shows.
Your first home should be a source of security and pride. Take your time, do the homework, and make a decision your future self will thank you for.
Intelligence beyond boundaries
12,000+ projects tracked. 5,000+ builders verified. RERA-verified data, fair market insights, and premium intelligence.
Explore ProjectsMore on Guides

Mahabhulekh Maharashtra & 7/12 Utara Complete Guide 2026: How to Check Online, Download, and Verify Before Property Purchase
Complete walkthrough of mahabhulekh.maharashtra.gov.in — how to check 7/12 utara, 8A, Fer Far, property card online. Mumbai, Pune, Nashik, Nagpur land record verification step-by-step, and how to cross-check with MahaRERA data.
MP Bhulekh (mpbhulekh.gov.in) Complete Guide 2026: How to Check Madhya Pradesh Land Records, Khasra, Khatauni Online
Step-by-step walkthrough of mpbhulekh.gov.in — MP khasra lookup, khatauni download, Bhu Abhilekh portal, district search across Indore, Bhopal, Gwalior, Jabalpur. Free Naksha download and MP RERA cross-verification.

Stamp Duty & Property Registration Charges in Gurgaon 2026: Complete Breakdown with Circle Rate, Women Rebate & Joint-Ownership
Complete 2026 guide to Gurgaon stamp duty and registration charges — standard rate, women-discount, joint ownership, commercial vs residential, circle rate vs market rate, gift deeds, and how to calculate total transaction cost before booking any property.
Stay updated on RERA
Get the latest insights on real estate regulations and compliance delivered to your inbox.
No spam. Unsubscribe anytime.